Crafting a “Grateful for You” Card with Stampin' Up'! Pretty Petals: Step-by-Step Guide
- This Chick Loves Paper

- Oct 31, 2024
- 4 min read
Updated: Jun 1, 2025
Hello crafting friends!
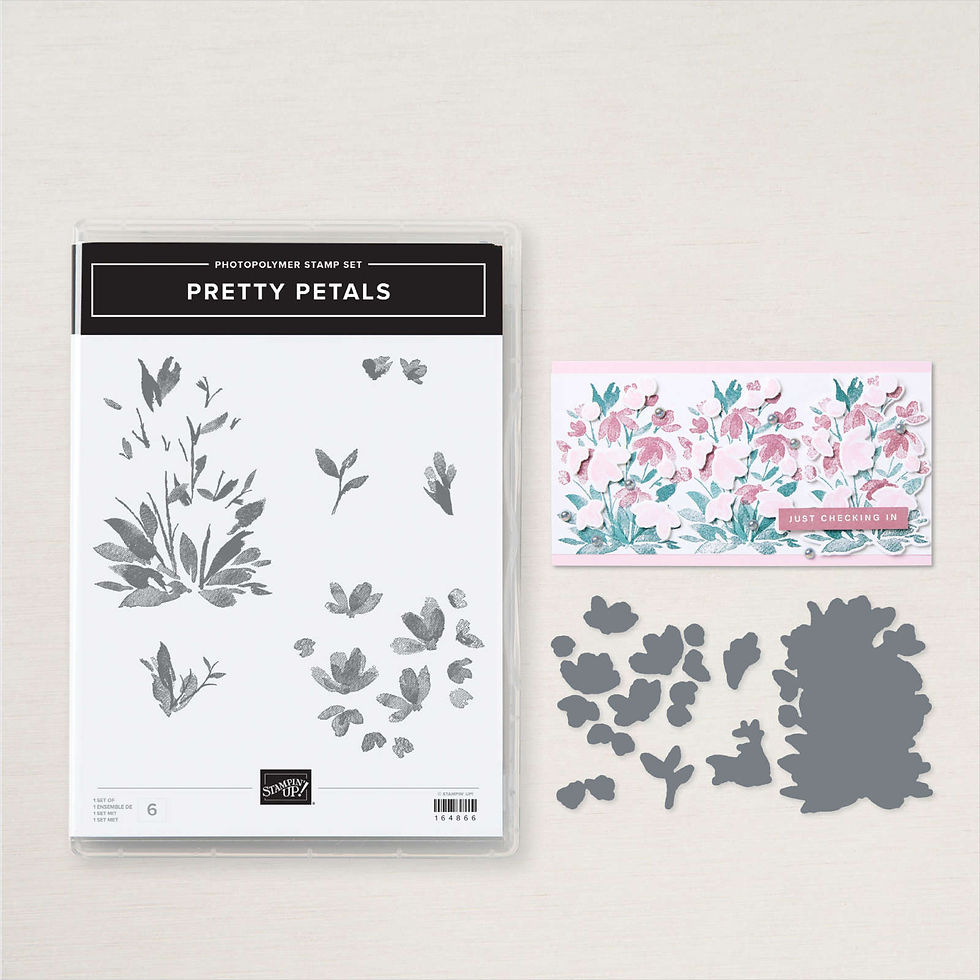
Today, I’m thrilled to showcase this ‘Grateful For You’ card crafted using Stampin’ Up!’s Pretty Petals Bundle, which is perfect for adding elegance and dimension to your card-making projects.
Designing cards that express gratitude is rewarding, and this “Grateful for You” card brings that sentiment to life with layers, soft colors, and textured details. Here’s a look into the creative process behind this card using the Pretty Petals Bundle and a few added techniques!
🎨 “The Perfect Supplies for a Stunning Thank You Card!â€

• Pretty Petals Stamp & Thin Cut Bundle (for layered stamping and floral details)
• BASIC WHITE 8-1/2” x 11” Thick Cardstock (for the card base and embossed background)
• SMOKY SLATE 8-1/2” x 11” Cardstock (for the card border and large Deckled Circle die-cut)
• HIGHLAND HEATHER 8-1/2” x 11” Cardstock (for the smaller Deckled Circle die-cut and floral details)
• SMOKY SLATE Stampin’ Blends Combo Pack (for shading half of the butterfly wings)
• MOODY MAUVE Classic Stampin’ Pad (for stamping floral details)
• CTMH Charcoal Ink Pad (for inking edges of the Smoky Slate cardstock) Stampin’ Up! Smoky Slate Classic Stampin’ Pad can be substituted.
• HIGHLAND HEATHER Classic Stampin’ Pad (for inking edges of the Highland Heather cardstock)
• GRANNY APPLE GREEN Classic Stampin’ Pad (for stamping the floral layer)
• BUBBLE BATH Classic Stampin’ Pad (for adding depth to stamped floral images)
• PECAN PIE & Clear Ribboned Adhesive-Backed Dots (for adding sparkle to the card)
• CTMH Honey Bunny Digital Art Kit (for cutting butterflies with Cricut®)
• CTMH White Daisy Ink Pad (for stamping the “Grateful For You” sentiment) UNINKED STAMPIN’ PAD & WHITE CRAFT REFILL can be substituted.
• AUTUMN EXPRESSIONS Bundle (for the “Grateful For You” sentiment)
• DECKLED Circles Dies (to create layered focal points for the sentiment)
• So Swirly Embossing Folder (for adding texture to the background)
• Foam Tape, Sponge Daubers, Glue, Stamp n Seal Adhesive, Scissors, and Paper Trimmer
Crafting Magic: A Step-by-Step Guide to Your Grateful For You Card!
1. Create the Card Base
• Cut BASIC WHITE Thick Cardstock 8.5” x 11 in half so that you have two cards measuring 8.5” x 5.5”. Score each card at 4.25”. Turn horizontal. This will serve as your card base.
2. Smoky Slate Border
• Trim SMOKY SLATE Cardstock slightly smaller than the card base. Ink the edges with CTMH Charcoal Ink for dimension and adhere it to the card front.
3. Embossed Background
• Cut another piece of BASIC WHITE THICK cardstock to 5.25” x 4” and emboss it using the So Swirly Embossing Folder. This will give your card a textured backdrop. Adhere on top of Smoky Slate card base.
4. Stamp and Layer the Floral Elements
• Using the Pretty Petals Bundle, stamp the first floral layer in Granny Apple Green Classic Stampin’ Pad on Basic White cardstock. Then, stamp the second layer in Bubble Bath over the same image. Die-cut these layers as one piece.
• For added depth, stamp the floral again on a separate piece of cardstock in Moody Mauve Classis Stampin’ Pad. Die-cut these pieces individually and layer them for extra dimension.
5. Deckled Circle Sentiment
• Cut one large Deckled Circle in SMOKY SLATE Cardstock and a smaller one in HIGHLAND HEATHER. Stamp “Grateful for You” from the Autumn Expression on the Highland Heather circle in CTMH White Daisy Ink. Ink the edges of both circles in coordinating colors and layer them together.
6. Butterflies for Dimension
• Use the Honey Bunny Digital Art Kit to cut butterfly shapes with Cricut®. Shade the wings using SMOKY SLATE STAMPIN’ BLENDS MARKER for the bottom half and HIGHLAND HEATHER STAMPIN BLENDS MARKER for the top.
7. Assemble the Card
• Arrange the floral elements, butterflies, and sentiment as shown. Use foam tape on the Moody Mauve floral pieces and butterflies for a 3D effect.
8. Add Sparkle
• Finish with PECAN PIE and Clear Dots for a hint of sparkle and elegance.
Discover More Card Inspiration!
If you enjoyed this card, take a look at more card-making techniques and layouts! From intricate floral layers to themed designs, our collection offers endless inspiration for every occasion. Explore other cards here.
Share Your Creations!

Have you created layered floral cards? We would love to see them! Share your designs in the Members Gallery, and let’s inspire each other in our crafting journey!
Want to make these cards? Shop with me:
Crafting with gratitude,
April - This Chick Loves Paper
Please note: All photos are subject to copyright ThisChickLovesPaper.com
Images @ Stampin’ Up!©
Disclaimer:
The content in this blog is the sole responsibility of April Raine - This Chick Loves Paper as a Stampin’ Up!® Independent Demonstrator. The use of and content of classes, services, or products offered is not endorsed by Stampin’ Up!®.
🌸 Show your gratitude in style with a handmade “Grateful for You” card! This step-by-step guide walks you through creating an elegant floral card with Stampin’ Up!’s Pretty Petals, complete with layered details and delicate embellishments. Whether you’re a beginner or an experienced crafter, this design is quick, stunning, and full of heartfelt charm! 💕 ✂ Get inspired & craft along!


Comments